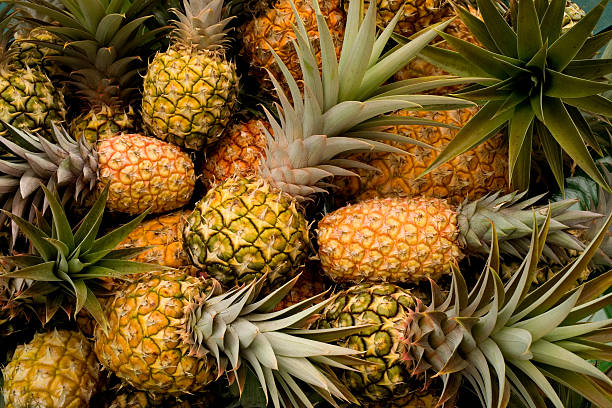
We were at the store the other day, and they had pineapples on sale. We bought 4 of them, brought them home, and spent the afternoon preserving them. I am going to explain how we did it, and show you ways to use every bit of the pineapple without waste, including making a powerful pineapple bromelain tincture (pain killer)!
ITEMS YOU’LL NEED:
- Pineapples
- Water Bath Canner
- Mason Jars
- Sharp Knife
- Stock Pot
- 80-proof Vodka (for making the bromelain tincture)
- Sugar (optional) – we leave it out. The pineapples are sweet enough on their own, in our opinion.
CANNING FRESH PINEAPPLE:
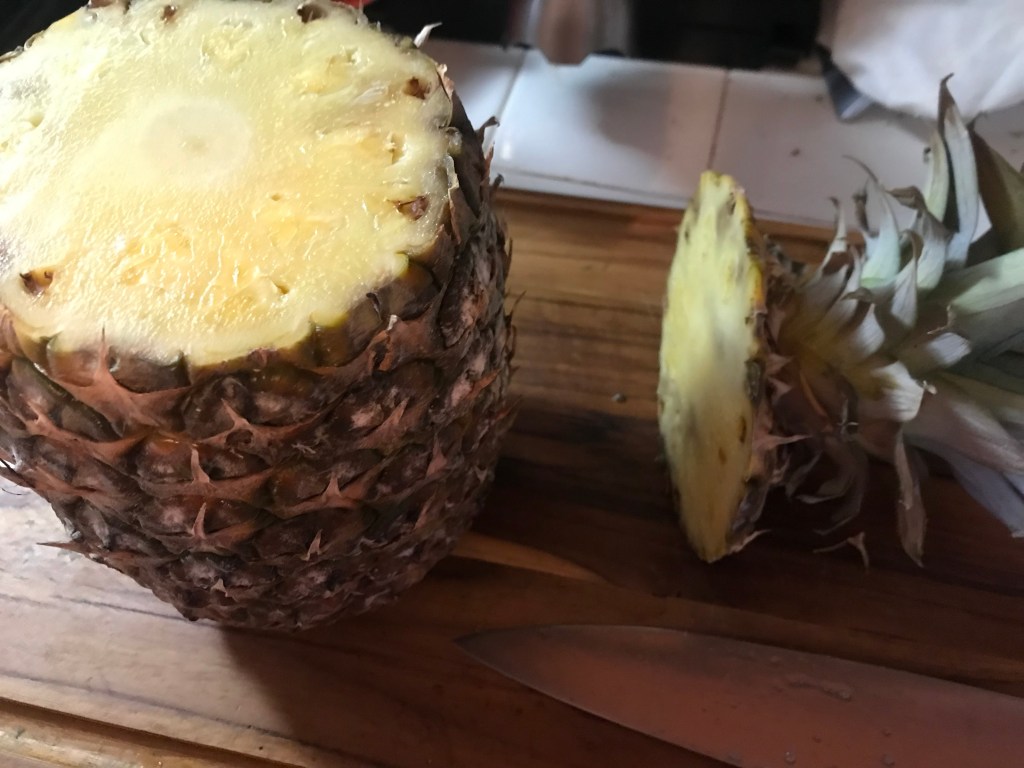
First thing to do, is cut off the top. If you live in a climate where you can regrow the tops, then do so! If not, compost the tops. Tip: Growing pineapple from tops is a simple process that can take up to 24 months to fruit. To grow a pineapple from tops, cut off the crown and remove all the fruit flesh. The stem that is left needs to be bare, dry, and clean. It’s better to let it cure or dry for a day or two before planting. To make a pineapple cutting, remove the top from the fruit and peel away the outer leaves to expose a cutting. Leave it sitting in a tray in a warm, sunny place for about a week to heal and seal. You can plant the top cut from a grocery store pineapple any time of year if it will be growing indoors or in the spring for outdoor planting.
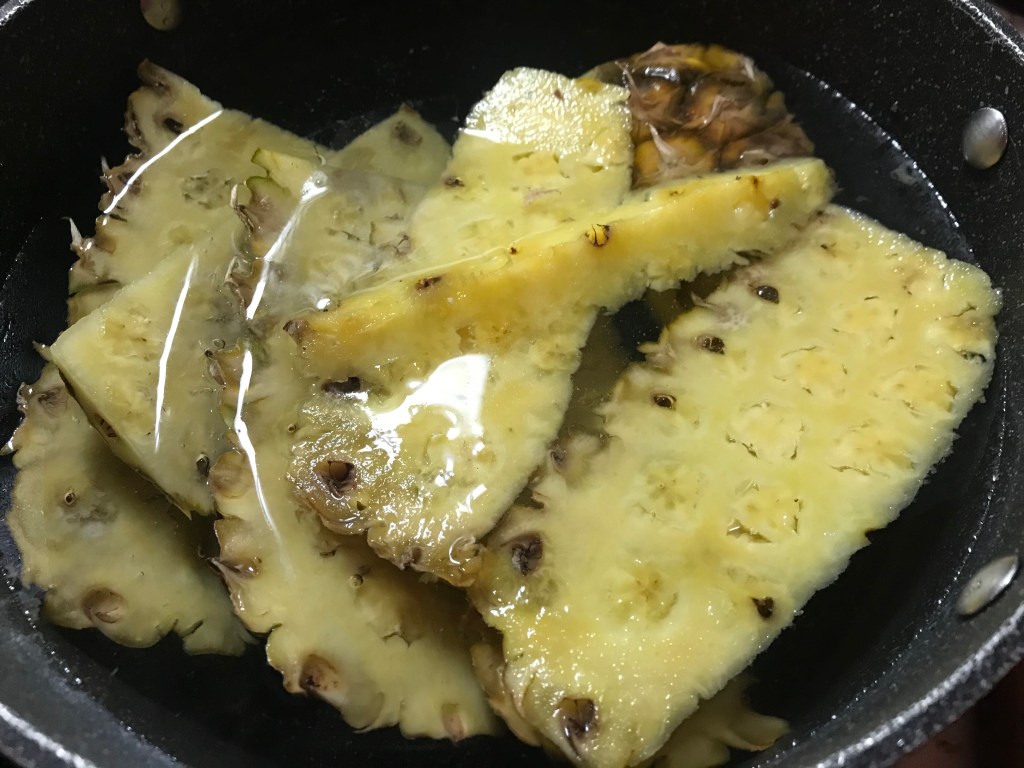
Using a sharp knife, with the pineapple standing upright, cut from top-down, removing all the outer shell/skin and particles. Depending on the ripeness of the pineapple, you may have to cut away about an inch into the fruit. That’s okay: it won’t go to waste.
With the outer shell/skin pieces, place them in a large stockpot. Cut off the bottom of the pineapple and place that piece into the stockpot with the skins.
Once the outer portions are removed, cut downwards on all 4 sides of the center core, leaving the core intact. Set cores aside (we’ll deal with them later).
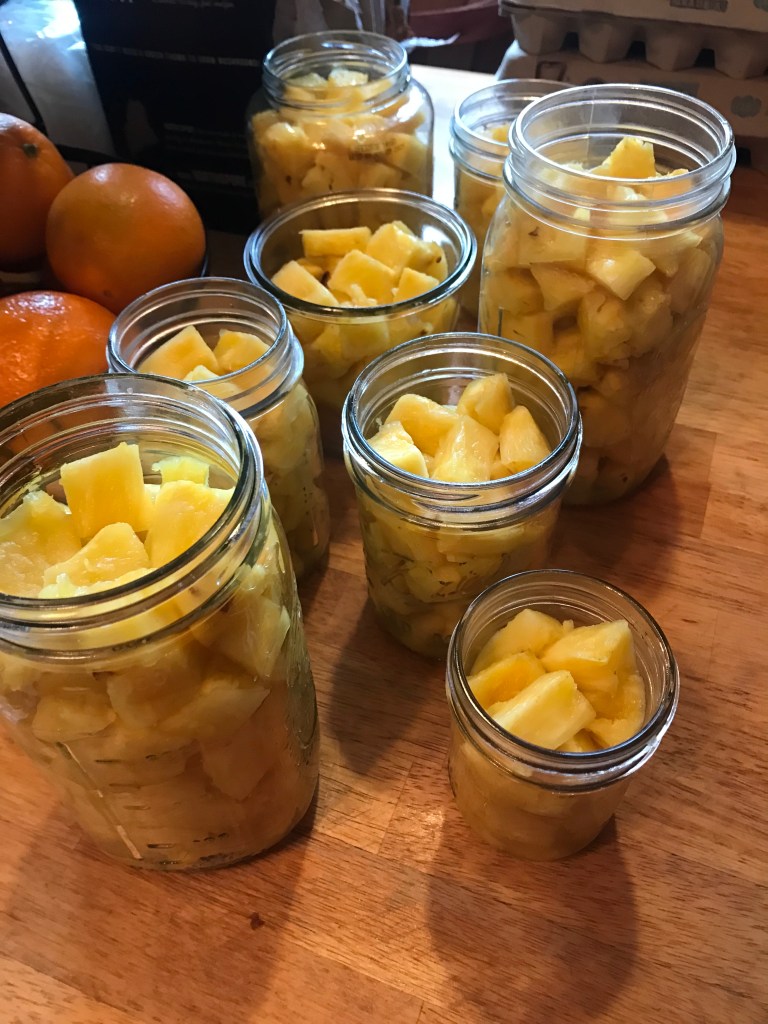
Cut the fruity flesh of the pineapple into approximately 1″ to 1 1/2″ pieces or chunks. As you cut, take a clean mason jar (wide mouth is best) and put the cubes of pineapple directly into the jars, filling them as tight as you can. Keep grabbing jars, cutting pineapples, until all jars are full, with a 1″ headspace. Set aside the jars of pineapple for now.
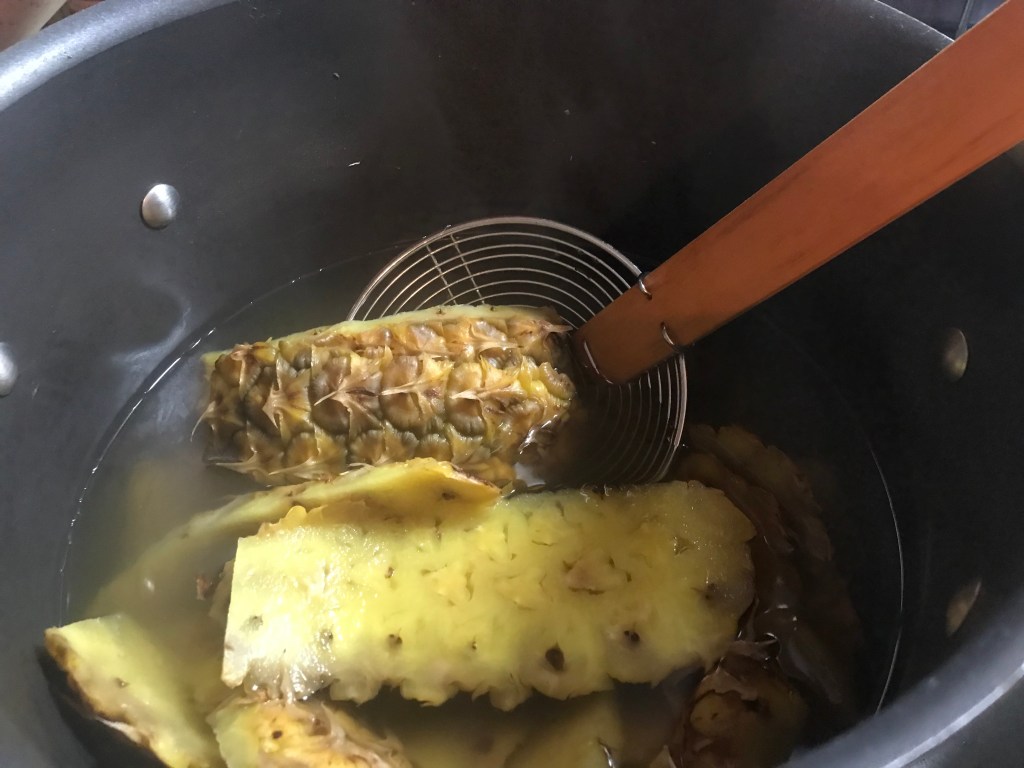
Now let’s deal with all the “scraps” that you put into the large stockpot: Cover the scraps with water. If you want to add a bit of sugar to the scraps, do so at this time.
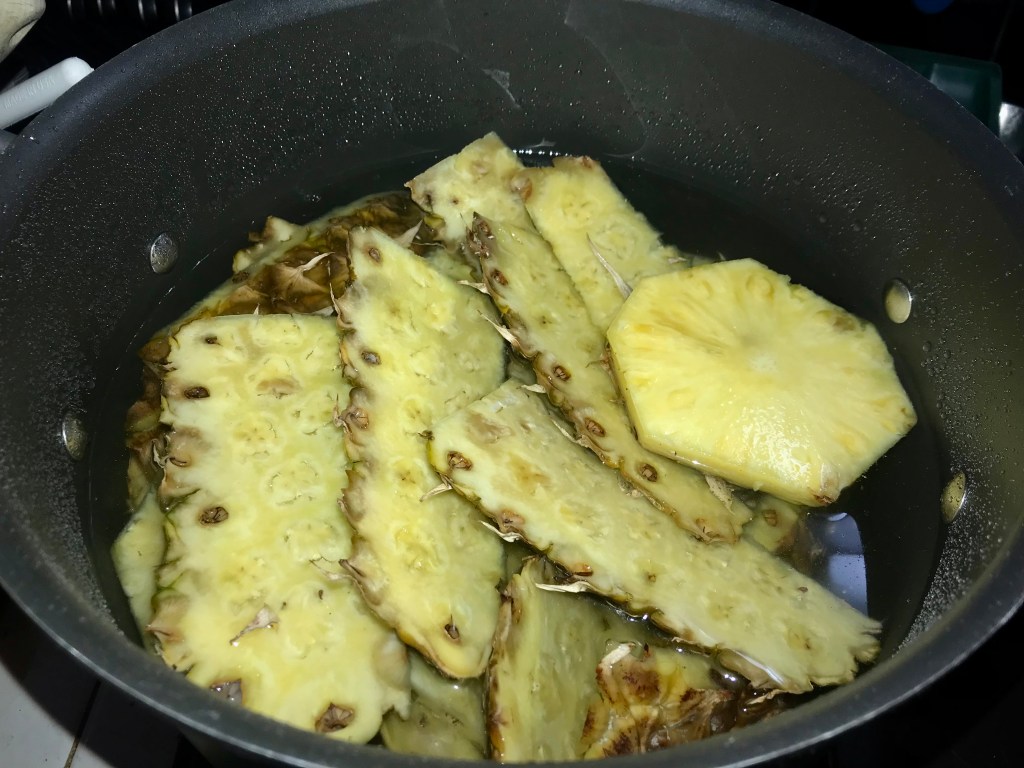
Bring the scraps to a boil, then turn down the heat and slow simmer for about an hour.
After simmering, remove the scraps and let them cool, and either compost them or throw them to the chickens! (Our chickens love to peck at these scraps!).
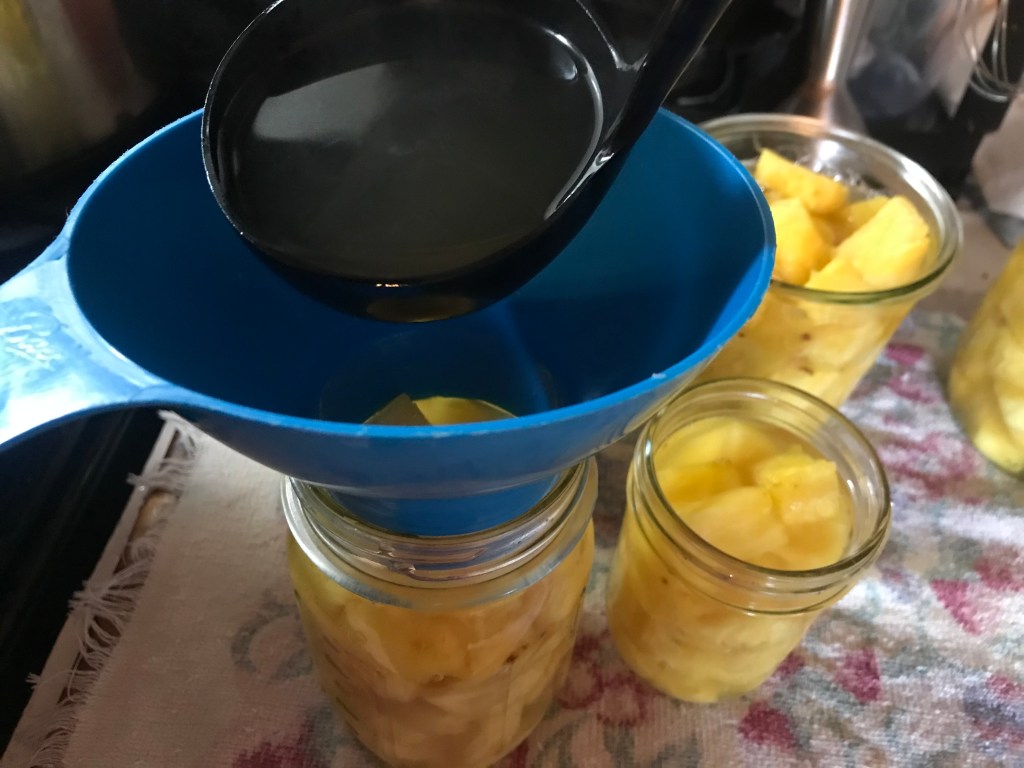
With the remaining liquid, ladle into the jars of pineapple chunks. This is the “syrup” (if adding sugar), or pineapple “broth,” making sure the pineapple chunks are submerged under the “syrup/broth” as much as possible, leaving a 1″ headspace. Use a non-metal spoon handle or a canning debubbler to remove any air bubbles from each jar. This may settle the liquid, so if you need to add a bit more liquid after debubbling, to cover the fruit, do so at this point.
Wipe the rims of all the jars with warm water to remove any sticky residue from the filling process. Place canning lids and rings onto the jars, and place into a water bath canner and make sure they are covered with an inch or two with water.
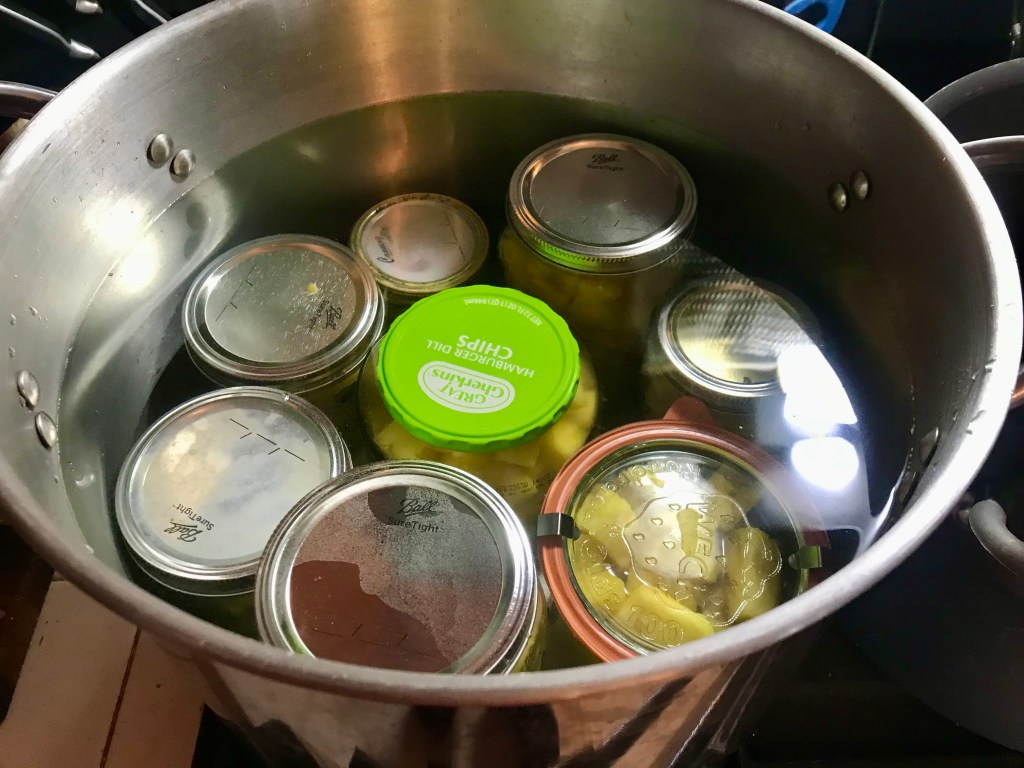
Place the lid onto the canner and bring water to a rolling boil. Once it starts boiling, turn the heat down a bit to slow the boil, and set your timer for 20 minutes.
When the 20 minutes are up, use a jar lifter and place the jars on a towel to cool, and enjoy hearing all the “pings” as the lids seal! When everything has cooled down, remove the rings and store. You now have shelf-stable jars of pineapple to put in your pantry to last until you’re ready to eat them!
NOTE ABOUT EXTRA SYRUP/BROTH:
If you have extra liquid left over after canning, you can process the rest of it in the water bath, processing for 20 minutes just like you did the jars of pineapple! I’m sure you can think of some way to use the fruit syrup/broth at a later date!


USING THE PINEAPPLE CORES: (To make a natural bromelain – effective pain killer)

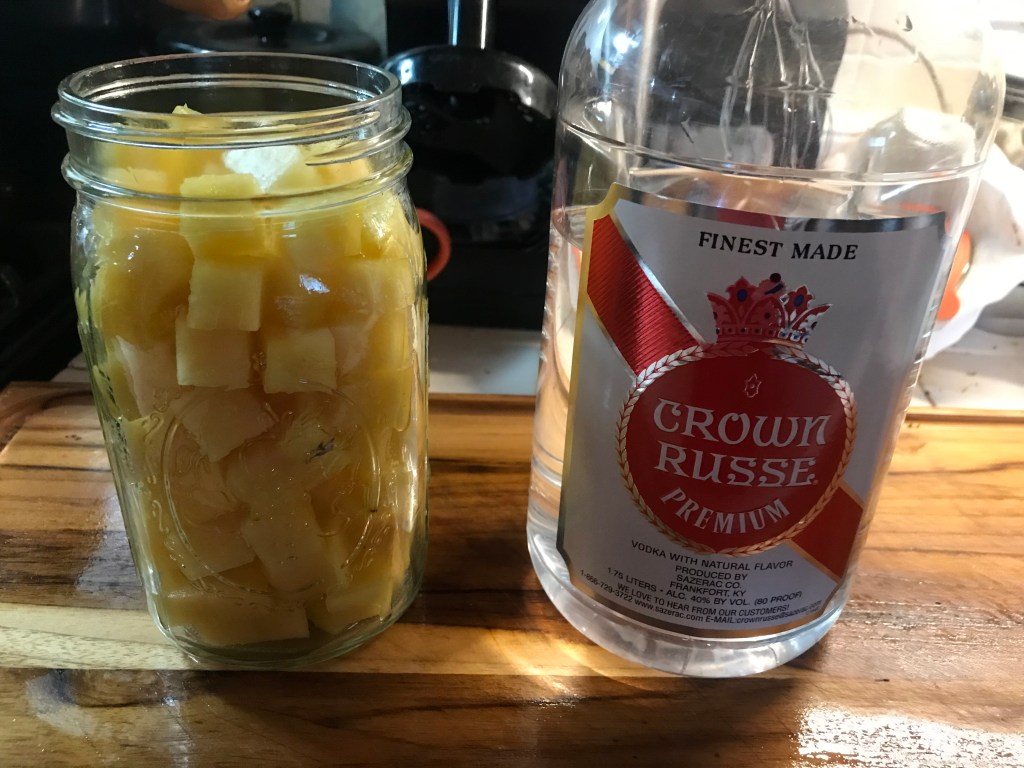
Cut the cores into small cubes, an inch or less in size. Pack them tightly into a quart jar (or smaller, depending on how many pineapples you’re working with).
Pour at least 80-proof vodka (or other 80-proof alcohol of your choosing) over top of the core cubes, making sure they are completely covered. Debubble and add more vodka if necessary.
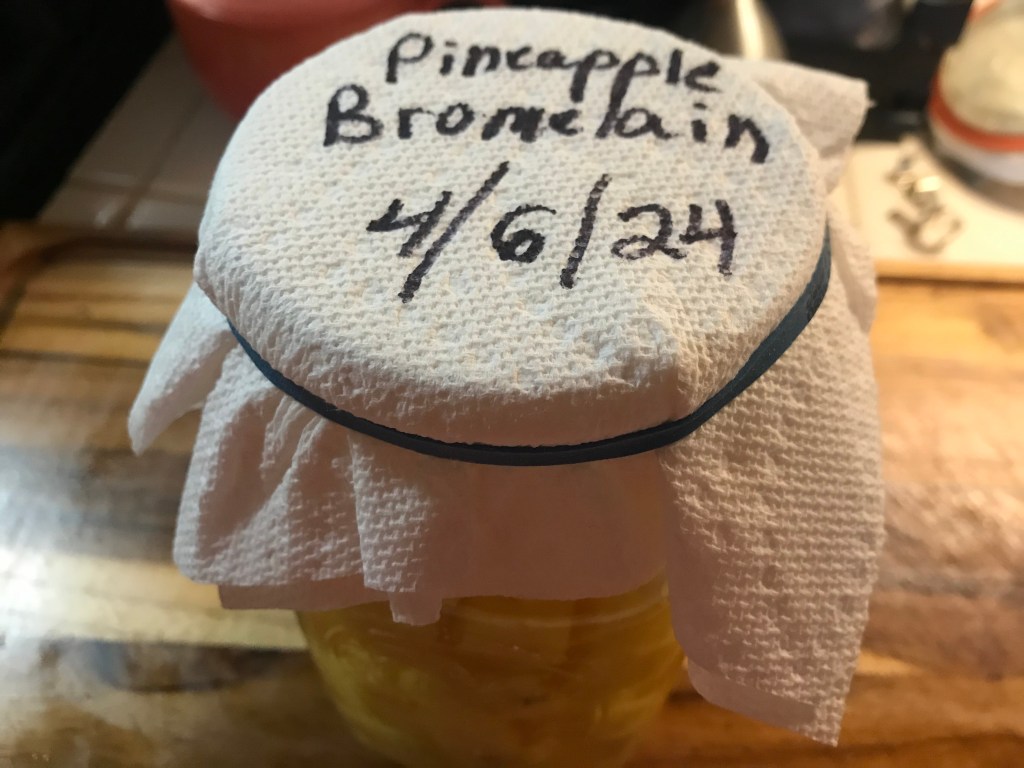
Cover the tincture with a paper towel or breathable fabric, secured with a rubber band. (If you have a fermentation lid that fits mason jars, you can just use that.)
Label the paper towel – be sure to write the date – and put it in a dark cupboard or closet and let it set for 6 weeks to ferment. The fermentation process works to pull out the medicinal pain-killing properties from the pineapple cores: bromelain.
After 6 weeks, strain the tincture into a bottle and put the lid on tightly, and it’s ready to use! Whenever I have a headache or any other ache, I drink a shot (or about 30ml) of this tincture, and my ache disappears in just a few minutes! This ingestion of pineapple bromelain is highly bio-available, without all the chemicals that are contained in pharmaceutical pain killers… and it works!
OTHER WAYS TO PRESERVE FRESH PINEAPPLE:
DEHYDRATE: Cut pineapple flesh (not the cores) into thin strips and put into the dehydrator. Dehydrate at 135°F / 57°C for 10-18 hours until dry. It will feel a bit sticky and rubbery, but not wet. Store in a sealed container on the shelf and enjoy! Makes a wonderful substitute for candy!
FRUIT PRESERVES: Crush the pineapple flesh in a food processor. Put all the flesh and resulting liquid into a pan, add some sugar, and boil for a minute. Add pectin (follow amounts on package for the amount of crushed fruit you have), boil for another minute. Pour into jelly jars and tighten hot lids and rings onto jars. Turn the jars upside down for 5-10 minutes on a towel or process in a water bath for about 10 minutes to seal.
SYRUP: (for pancakes or to pour over ice cream, et al.)
Follow the same instructions for the preserves, but don’t add any pectin. Simmer until it thickens to the consistency you desire (may take a few minutes or more). To preserve the syrup, pour into hot jelly jars, attach hot lids and rings, and either turn upside down on a towel 5-10 minutes, or water bath for 10 minutes to seal.
If you can think of other ways to process and enjoy fresh pineapples, please comment below with your ideas!
Enjoy!

wow!! 79GROWING ASPARAGUS IN RAISED BEDS
LikeLike